Air Filter Servicing
SAFETY FIRST: Protective gloves and eyewear are recommended at this point.
Removal
Remove the seat. See the Seat topic for more information.
Remove the fuel tank. See the Fuel Tank topic for more information.
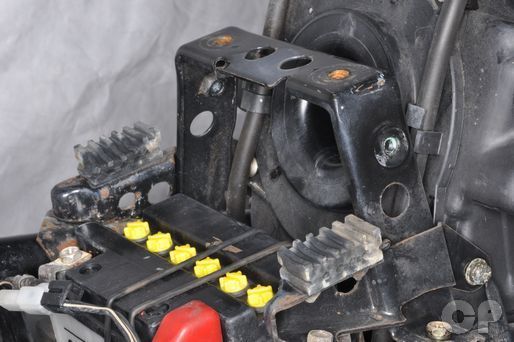


Loosen the lower fuel tank bracket bolts with a 12 mm socket. Remove the two lower fuel tank bracket bolts.


Remove the two forward fuel tank bracket screws with a #2 Phillips screwdriver.

Remove the fuel tank bracket.
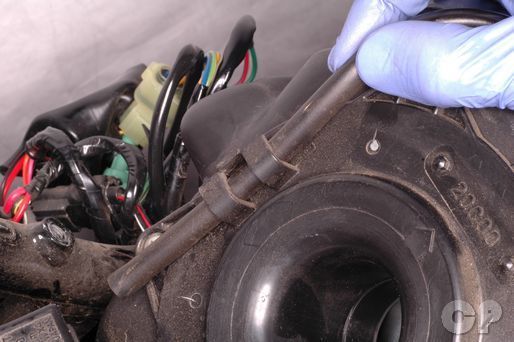
Free the air vent hoses from the backside of the air box.


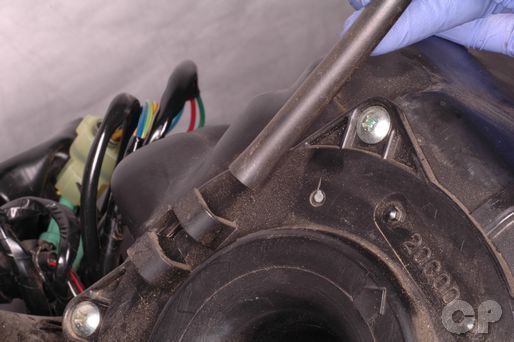
Remove the four air filter mounting screws with a #2 Phillips screwdriver.
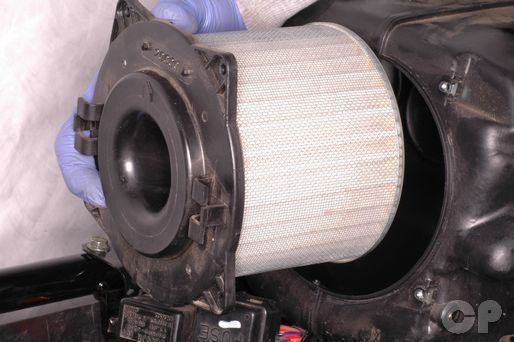
Remove the air filer from the airbox.
Servicing


Inspect the air filter element for damage. Replace the air filter if necessary. Clean the air filter with compressed air from the outside of the element. Do not use compressed air on the inside of the filter or it with damage the element.
NOTE: Always wear safety glasses when using compressed air and never point it directly at yourself or anyone else.

Clean out the inside of the airbox.


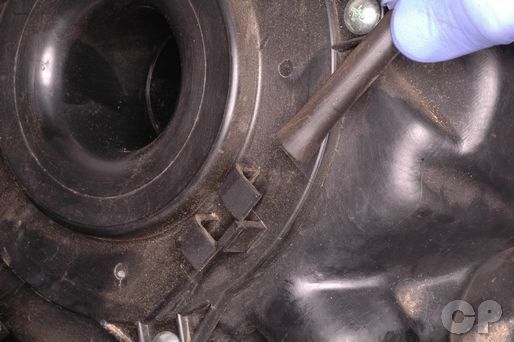
Remove the plug from the airbox drain tube to drain any build up of fluid.
Installation
Remove the four air filter mounting screws with a #2 Phillips screwdriver.


Fit the air vent tubes into the holders on the air filter.
Set the fuel tank bracket in place.
Install the two forward fuel tank bracket mounting screws. Tighten the screws securely with a #2 Phillips screwdriver.
Install the two lower fuel tank bracket mounting bolts. Tighten the bolts securely with a 10 mm socket.
Install the fuel tank. See the Fuel Tank topic for more information.
Install the seat. See the Seat topic for more information.
Copyright 2025 - Cyclepedia Press LLC

Note: If you are viewing this document offline be sure to visit the latest version online at http://www.cyclepedia.com before attempting any repairs. Updates are made without notice.